
Have you ever finished spring cleaning and still feel like something is off?
Every spring, I'd set aside a full weekend, roll up my sleeves, and go at the house like it owed me something.
By Sunday evening I was exhausted, my back hurt, and somehow the house still didn't feel as clean as it should have. I couldn't put my finger on why. I'd spent two full days cleaning. Every room had been touched.
But something was always off.
It took me an embarrassingly long time to figure out that the problem wasn't how hard I was working. It was what I was doing wrong before I even picked up a sponge. (and in some cases, before I even walked into the first room).
Over the years I've made just about every spring cleaning mistake there is. Some of them I repeated for longer than I'd like to admit (we're talking years, not months).
And a few of them I didn't even realize were mistakes until I finally stopped making them and noticed the difference.
In this post I'm sharing the 7 that made the biggest impact. What goes wrong, why it happens, and the simple fix that actually makes spring cleaning feel worth the effort.
7 Spring Cleaning Mistakes To Avoid (And What To Do Instead)
These mistakes are easy to make because most of them feel like the right thing to do in the moment. But once you know what to look for, they're just as easy to fix.
1. Starting Without a Plan
This was me for years.
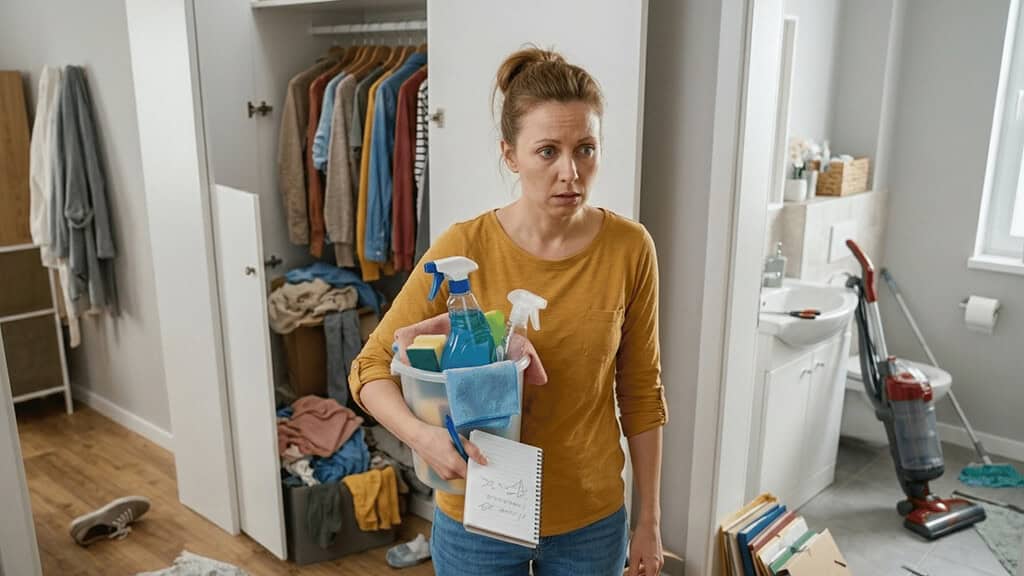
I'd wake up one morning, feel motivated, and just start — whatever room I walked into first, whatever caught my eye.
The bedroom closet would lead me to the hallway, the hallway to the bathroom, the bathroom cabinet to the medicine cabinet, and by noon I had four half-cleaned rooms and no idea where I'd left the cleaning spray.
Nothing got finished. And the motivation I'd started with was completely gone by lunch.
The problem with starting without a plan isn't that you don't work hard enough. It's that without a clear order, you end up spreading your energy across too many things at once and finishing none of them.
What finally worked for me was sitting down the night before with a simple list. Not an overwhelming room-by-room breakdown (the kind that takes longer to write than the actual cleaning).
Just a short, realistic list of what needs to get done and in what order.
I also started giving each task a rough time. Thirty minutes for the kitchen. Twenty for the bathroom. Fifteen for the bedroom. It kept me from falling into the trap of spending two hours on one cabinet while the rest of the house waited.
A plan doesn't have to be complicated. It just has to exist before you pick up the first sponge.
2. Cleaning Before Decluttering
I used to think cleaning and decluttering were two separate projects. Spring cleaning first, decluttering sometime later when I had more time (which, if I'm being honest, usually meant never).
So every spring I'd wipe down counters that were still covered in things I didn't need. I'd vacuum around piles instead of moving them. I'd organize the cabinet under the sink without ever questioning whether half of what was in there needed to stay.
The house looked cleaner. But it wasn't really clean. I was just moving clutter around in a tidier way.
What changed everything for me was doing a quick declutter pass through each room before I touched a single cleaning product.
Not a deep, emotional, should-I-keep-this-or-not declutter.
Just a fast sweep for the obvious stuff — the expired products, the things that belonged somewhere else, the items that had been sitting in the same spot untouched since last spring (which was usually a sign they could go).
Once the surface clutter was cleared, the actual cleaning went faster and felt more thorough. I wasn't wiping around things or reorganizing stuff that should have left the house a year ago.
Decluttering first doesn't have to take long. Even fifteen minutes per room makes the cleaning that follows noticeably easier.
3. Not Cleaning Top-to-Bottom

This one took me an embarrassingly long time to learn.
For years I'd vacuum the floors first because it felt like the most satisfying thing to check off the list.
Clean floors, clean room. (that was my logic)
Then I'd dust the shelves, wipe the ceiling fan, and wonder why the floors looked dusty again ten minutes after I'd just vacuumed them.
The dust had to go somewhere. And it went straight down onto the floors I'd already cleaned.
The fix is simple but it requires fighting the urge to start with what feels most satisfying.
Start high and work your way down. Ceiling corners first (the spot where cobwebs quietly build up all winter without you noticing). Then ceiling fans and light fixtures. Then shelves and surfaces. Then baseboards. Then the floors last.
Every room, every time, in that order.
I also started making a habit of looking up when I walked into a room before I started cleaning it. It's surprising how much gets missed simply because it's above eye level (ceiling fans, the tops of door frames, the corners where the wall meets the ceiling).
Most of that dust and grime ends up on the floor eventually anyway, so cleaning it last just means you're not doing the floors twice.
Work top-to-bottom once and everything you clean actually stays clean.
4. Skipping the Hidden Areas That Quietly Collect Grime
Every home has spots that get cleaned around instead of actually cleaned. And spring cleaning is the one time a year where those spots have no excuse to be skipped.
I know mine well.
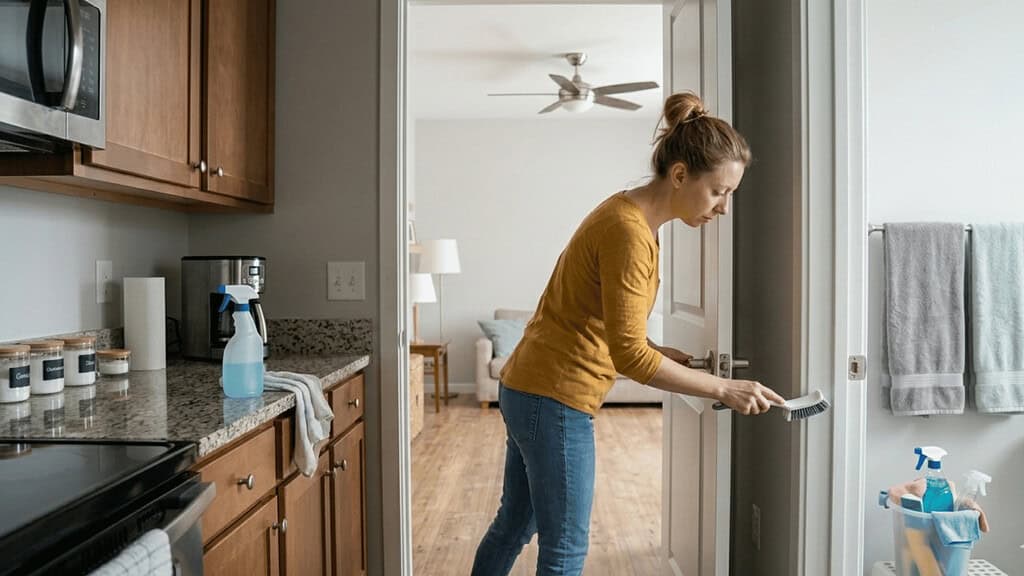
The gap between the refrigerator and the kitchen counter. The baseboards in the hallway that I walk past every single day without looking down.
The tops of the door frames (which I only ever notice when the light hits them at a certain angle and I see a ridge of dust that has clearly been there since last spring).
These spots don't announce themselves. They just quietly collect dust, grease, and grime month after month while everything around them gets wiped down regularly.
The simplest way I've found to make sure they actually get done is to add three questions to my room checklist before I start.
- What's above eye level that I haven't touched?
- What's below eye level that I always skip?
- And what's behind or underneath something that hasn't been moved in months?
Those three questions catch almost everything.
A few spots worth adding to your list if they're not already there.
The inside of cabinets and drawers, behind and underneath furniture (the dust that collects under a bed or sofa in one year is something else entirely), door handles and light switches, and baseboards throughout the whole house.
None of these take long once you're already in cleaning mode. They just have to make it onto the list first.
5. Using Too Much Cleaning Product
More product means cleaner surfaces. That was my logic for a long time.
BUT…
It isn't true.
What actually happens when you use too much is that the excess product doesn't rinse away cleanly. It leaves a thin residue on the surface (invisible at first, but it builds up over time) and that residue is sticky. It attracts dust and grime faster than a clean surface would.
So the areas you cleaned most thoroughly end up getting dirty again the quickest.
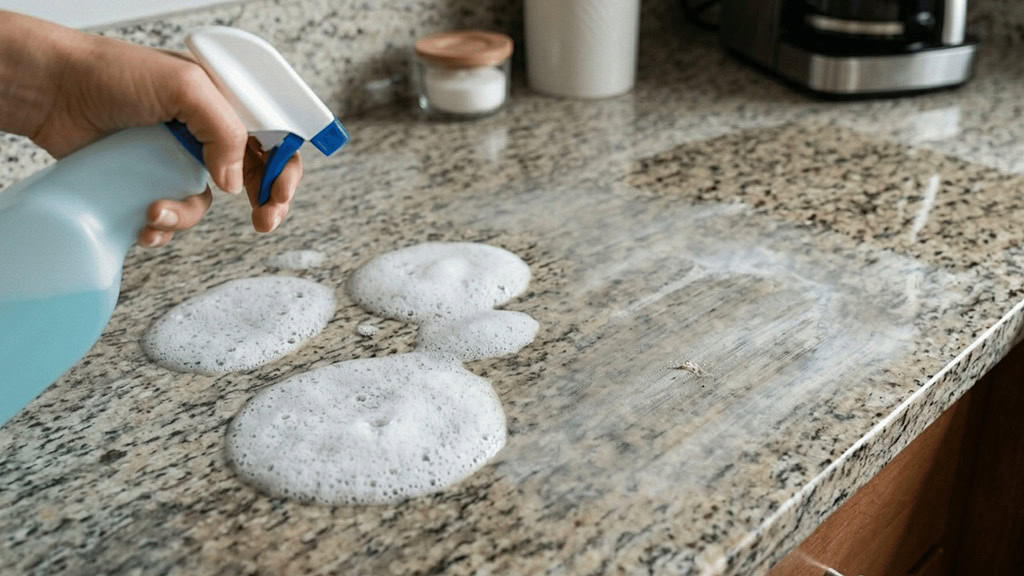
I noticed this first on my kitchen counter. I'd spray it generously, wipe it down, and within a day or two it looked dull and grimy again.
It wasn't until I started using a lot less product and following it with a clean damp cloth to wipe away the residue that the counter actually stayed clean longer.
The same thing happens with floors, glass, and bathroom surfaces.
A little goes further than you think, and the extra step of wiping with a clean damp cloth after makes more difference than using more product ever did.
A good general rule is to use about half of what feels like enough. If the surface needs more, you can always add a little. But rinsing away a heavy application of cleaner from a kitchen counter or bathroom tile takes a lot more effort than just starting with less.
6. Wiping Too Soon
This is probably the mistake I see most often and made the longest myself.
You spray the bathroom sink, the toilet, the stovetop — and then wipe it down almost immediately.
It looks clean. It smells clean.
But a lot of the bacteria and built-up grime that the product was supposed to break down never actually got dealt with because you didn't give it enough time to work.
Most cleaning and disinfecting products need what's called dwell time (the amount of time the product needs to sit on a surface before it can do its job properly).
For a lot of disinfectants that's anywhere from five to ten minutes. Spray and wipe in thirty seconds and you're mostly just moving the grime around on a damp surface.
I started reading the labels on my cleaning products during one spring cleaning session (out of boredom more than anything else) and was genuinely surprised by how many of them specified a wait time that I had never once followed.
The fix is simple. Spray first, move on to something else in the same room, and come back to wipe when the time is up. In practice it actually speeds things up because you're not standing there waiting — you're getting other things done while the product works.
Yes, it's a small change.
But surfaces stay cleaner longer when the product actually has time to do what it was designed to do.
7. Saving All the Deep Cleaning for Spring
This one is the hardest habit to break because spring cleaning feels like an event. You plan for it, you set aside the time, and when it's done there's a real sense of accomplishment.
The problem is that when deep cleaning only happens once a year, everything in between is just surface tidying. And by the time the next spring rolls around, you're starting from the same place you were twelve months ago — sometimes worse.
I used to wonder why my spring cleaning always felt so overwhelming.
The answer was that I was asking one weekend to undo twelve months of buildup. The baseboards hadn't been touched since last April. The inside of the refrigerator hadn't been wiped down in months (longer than I'd like to admit). The ceiling fans had been running all summer and fall with dust sitting on every blade.
One weekend a year was never going to be enough to stay ahead of all of that.
What changed things for me was spreading the deep cleaning out across the year instead of saving it all for spring. A few minutes of maintenance every week means that when spring comes around, you're not starting from scratch. You're just going a little deeper in the spots that actually need it.
It doesn't have to be a big production. A quick wipe of the bathroom surfaces on Monday. The kitchen cabinet fronts on Wednesday. The baseboards in one room on the weekend. Small and consistent keeps the buildup from reaching the point where one weekend barely makes a dent.
Spring cleaning works best when it has something to build on.
A Little Less Effort, But A Lot More Results
Spring cleaning doesn't have to feel like a battle you fight once a year and never quite win.
Most of the frustration that comes with it isn't about how much you clean or how hard you work. It's about the order you do things in, the spots you skip without realizing it, and the habits that let grime build up quietly in between.
Fix those, and the same amount of effort goes a lot further.
If you're not sure where to start, go back through this list and pick the three mistakes that sound the most familiar. Those are the ones worth fixing first.
You don't have to change everything at once, just enough to notice the difference this spring
Want to Make Spring Cleaning Even Easier?

My free Declutter for Self Care Checklist is a great first step before you start cleaning.
Because the less clutter you're working around, the faster and easier the whole process goes.
FAQ
What is the biggest spring cleaning mistake people make?
Starting without a plan is the one that trips most people up. When there's no clear order or schedule, you end up moving from room to room without finishing anything. A simple checklist written out the night before makes the whole process faster and less overwhelming.
Should you declutter or clean first when spring cleaning?
Declutter first, always. Cleaning around clutter means you're wiping surfaces that are still covered in things you don't need. A quick pass through each room to clear out the obvious stuff before you start cleaning makes the actual cleaning go faster and feel more thorough.
What order should you spring clean a house?
Start with a declutter pass through every room, then clean top-to-bottom — ceiling corners and fans first, then shelves and surfaces, then baseboards, then floors last. This way dust and grime only fall onto surfaces you haven't cleaned yet instead of undoing work you've already done.
What areas do people forget during spring cleaning?
The spots that get skipped most often are the ones above and below eye level. Ceiling fans, door frames, the tops of cabinets, baseboards, behind and underneath furniture, and the insides of drawers and cabinets. Adding “look up, look down, look behind” to your checklist for each room catches most of them.
Is it dangerous to mix cleaning products?
Some combinations are genuinely unsafe. Bleach and ammonia together, for example, produce fumes that can cause serious respiratory irritation. A good general rule is to never mix products, rinse surfaces thoroughly between different cleaners, and keep the room ventilated while you work.
Follow me elsewhere!