
After wearing the same outfit for 21 days and creating a dress code out of it, I've felt intrigued at the idea of how to build a versatile wardrobe from a few items.
Tell me if this sounds familiar…
You're subscribed to emails for a few clothing stores you like.
All of a sudden, you get a sales email from Forever 21 and you excitedly head over to the website or app.
You begin browsing and you see all these cute people wearing cute clothes and you imagine how DANG awesome you'll look in those same clothes.
You put in an order.
Anxiously await for the clothing to arrive.
Then it comes to your doorstep and you hurry to try the clothes on…
And 9 out of 10 items look totally weird on you.
OR, you wear an item a few times before you realize its really unflattering, impractical or uncomfortable.
This happened to me countless times in the past, but after the minimal wardrobe trial, I really figured out what I actually like wearing.
Think: if you wore the same outfit for 21 days, what would you choose?
I used these principles to create some rules for a dress code, and I gave away a lot of clothes.
And then I realized….
I wanted to try to create 50 outfits from 10 pieces of clothing.
Some call this a capsule wardrobe, some call it a dress code, some call it a minimal wardrobe, but the bottom line is…
I made 34 outfits from 10 items! Keep reading to see how I did it.
Suggested reading: I Wore the Same Outfit for 21 Days

Why Build A Versatile Wardrobe? Capsule Wardrobe Introduction
Reason 1: Simplify Life
I talked about this in the post above, but the idea is that wearing the same outfit every day and/or building a capsule wardrobe saves your brain space for other things.
Every day, you constantly make decisions about things.
Each decision takes energy, end your energy has limits.
So, removing one decision from each day creates a positive impact on your day-to-day life.
Reason 2: Oppose Fast Fashion
Another reason people recommend capsule wardrobes is to combat the “fast fashion” industry.
Fast fashion is a contemporary term used by fashion retailers to express that designs move from catwalk quickly to capture current fashion trends.
The outworking of fast fashion is that new trends arise constantly, and stores respond to the trends and demands, resulting in a consumer desire to have that latest trend.
Fast fashion has become synonymous with the term “disposable fashion” -and I think this term highlights the problem.
A counter-movement called “conscious fashion” arose out of the fast fashion trend and blames fast fashion for pollution, shoddy workmanship and the emphasis of short-term trends over classic styles that stand the test of time.
You'll see below that my tips on how to build a versatile wardrobe focuses heavily on classic styles.
I've never been a very trendy person.
In fact, I love fast fashion sites and have often gotten wrapped up in how great I would look in something trendy, only to be disappointed with how unflattering something was on me personally.
When I decided to write a post on how to build a versatile wardrobe, I definitely kept this in mind.
I have a black dress I've owned for a year, and one that I've owned for 5+.
I tried to choose items for my capsule wardrobe that quite literally stood the test of time.
If you like trendy clothes, there's nothing wrong with that. But I'd suggest incorporating timeless pieces as well.
How to Build a Versatile Wardrobe
In the guide above, I go into these steps in much more detail, but my steps when you're just starting out with how to build a versatile versatile wardrobe are:
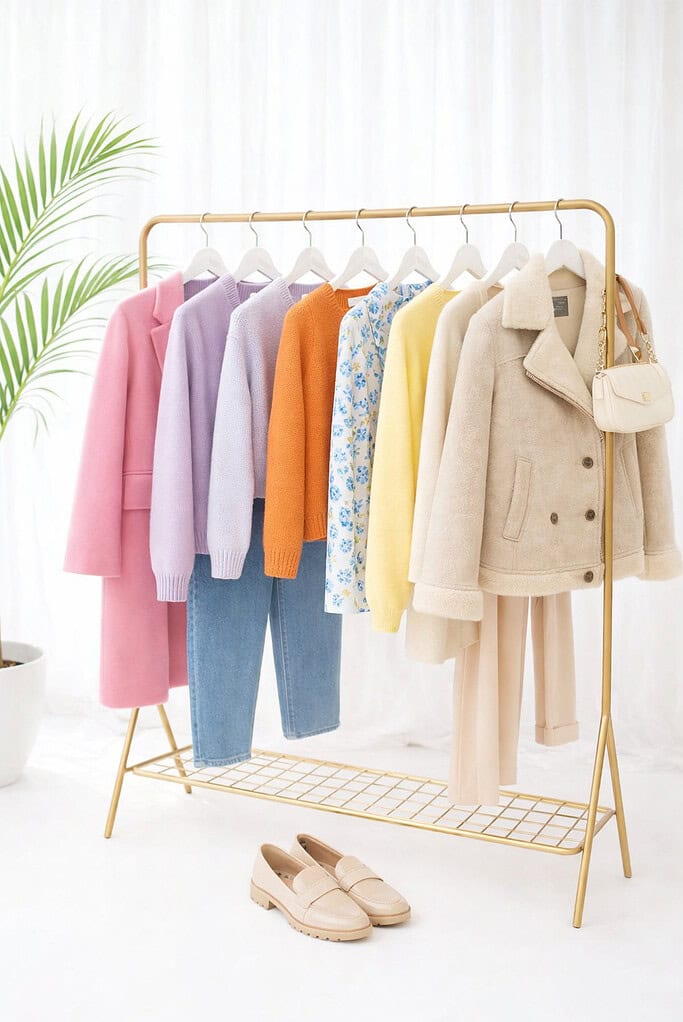
- Sum: Decide how many items you want in your capsule.
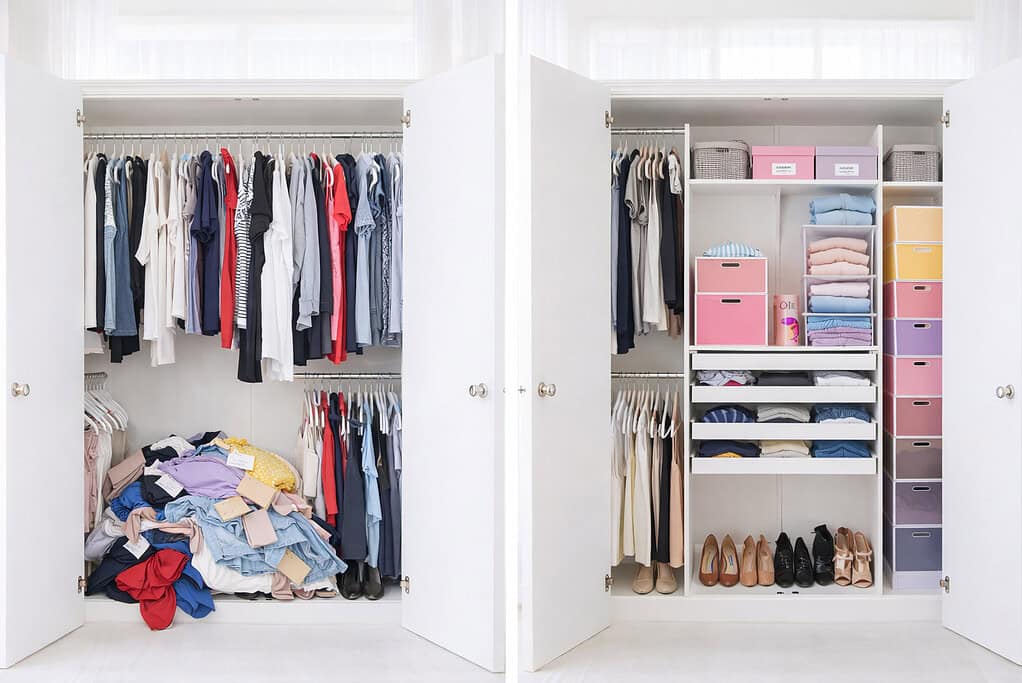
- See: Lay out everything you have so you can see your full range of options.
- Sort: Rate your items, an decide what you want to keep.
- Select: Select the items you want to include after sorting.
- Shed: put the remaining items back in your closet or in a donation bin, depending on what your goals are.
For this post, I focused mostly on the steps to selecting what you want…
Selecting Items For Your Minimal Wardrobe
I started out with how to build a versatile wardrobe by thinking about the things that regularly happen during a week, and also the occasional things I needed to prepare for.
What I Wear to Work
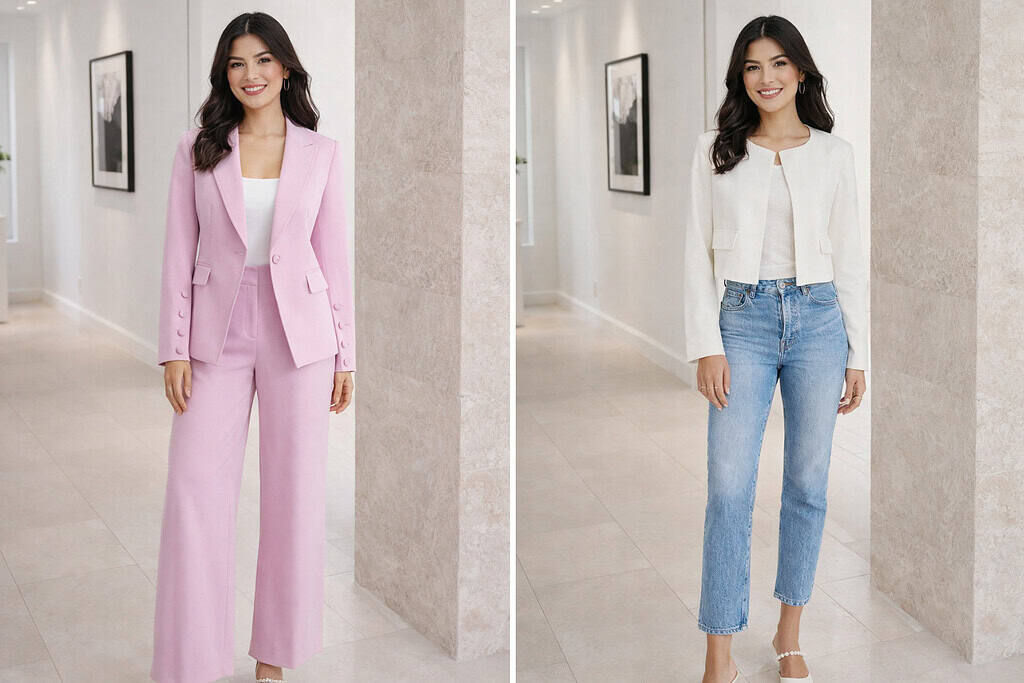
My office attire is business casual, but leans more on the casual side.
It's not unheard of for me to wear a Lularoe Irma Tunic with a pair of skinny jeans, and it's also not out of place to wear a semi-formal work jacket.
Shop The Look

I wanted to include clothing in my capsule wardrobe that would be easy to wear to work and also transition to after-work things.
What I Wear on the Weekends
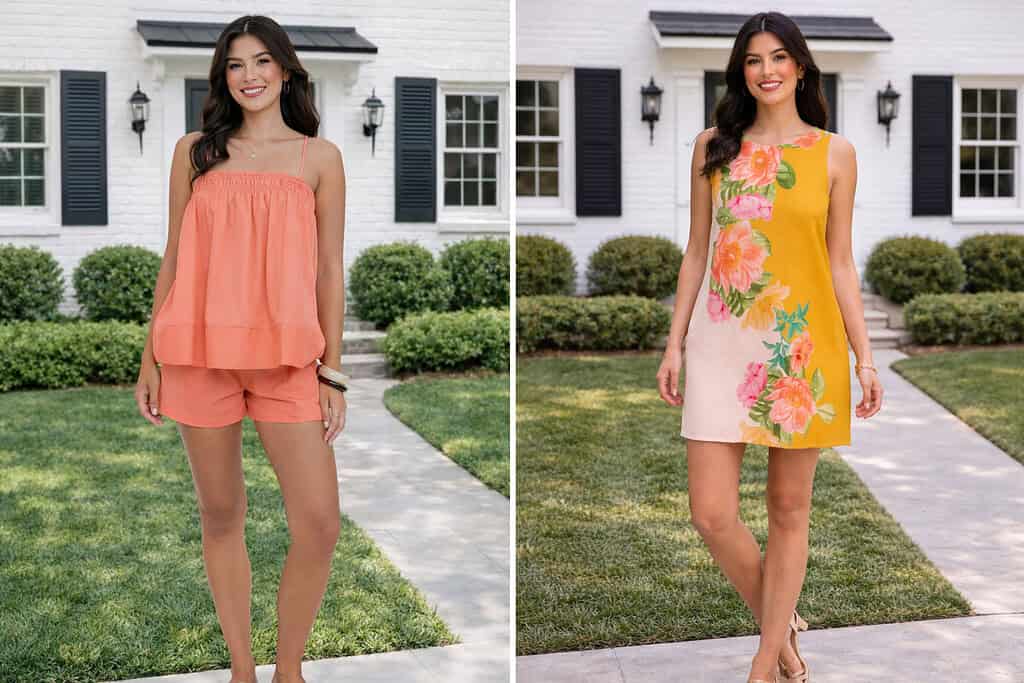
Right now in Texas, its heckin' hot.
That said, I'm not a booty shorts and tank top kinda girl, generally speaking.
I personally feel more comfortable covered up enough not to have to worry about eating something that makes me bloat like a balloon.
Shop The Look
Casual t-shirts are standard for me, but I also feel super comfy in a long sleeve shirt as long as its light with an open neck.
Also, because it is so incredibly hot…
- No one hangs out a ton outside during the day, so I didn't need a lot of “hot weather” clothing, and…
- I had to have options warm enough for ridiculously air conditioned buildings.
What I Wear to Events
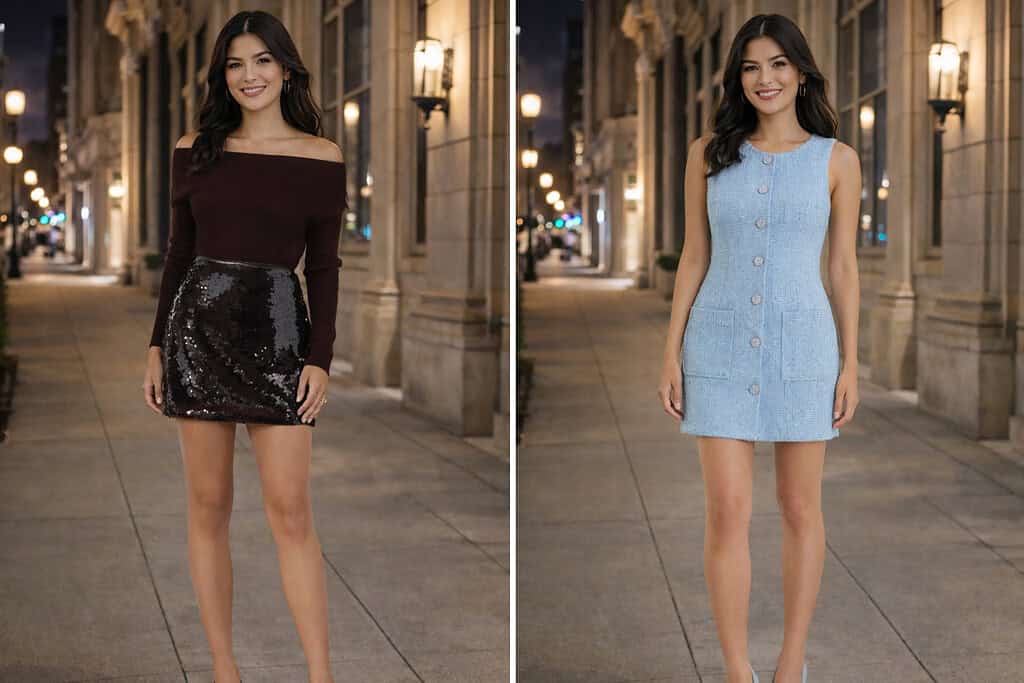
Every now and then, I have a date night or other event to go to.
I don't love eating out at super expensive restaurants, so I didn't need anything too fancy for date nights.
Shop The Look
But we do go to a couple art openings a month.
So, I needed some items that were nice looking and/or artsy wear enough that people didn't care.
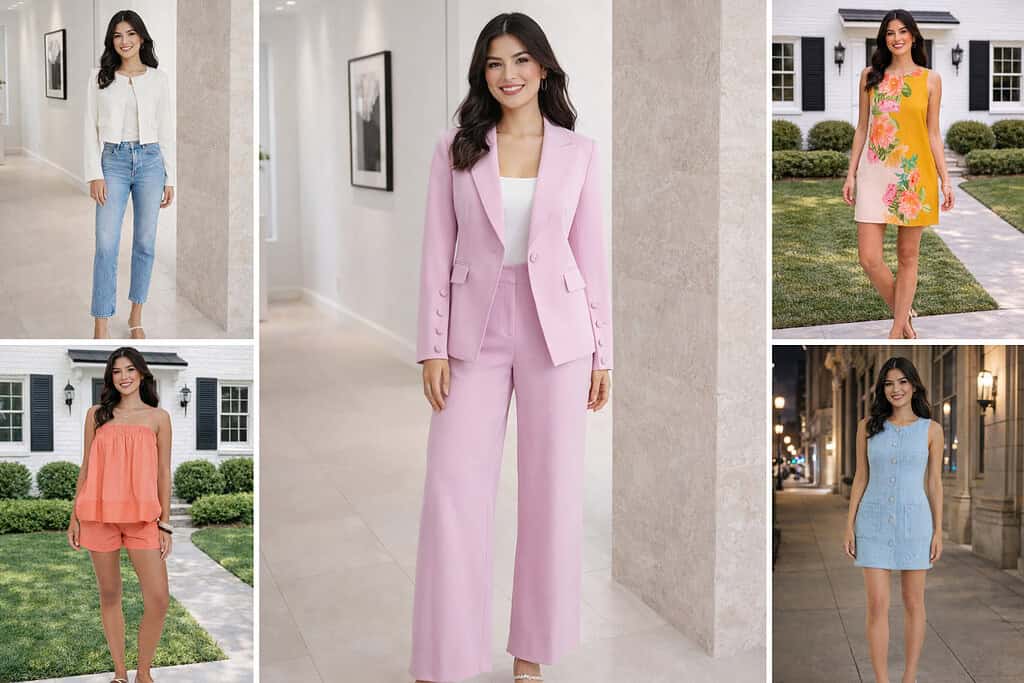
What I Decided to Include in My Versatile Wardrobe
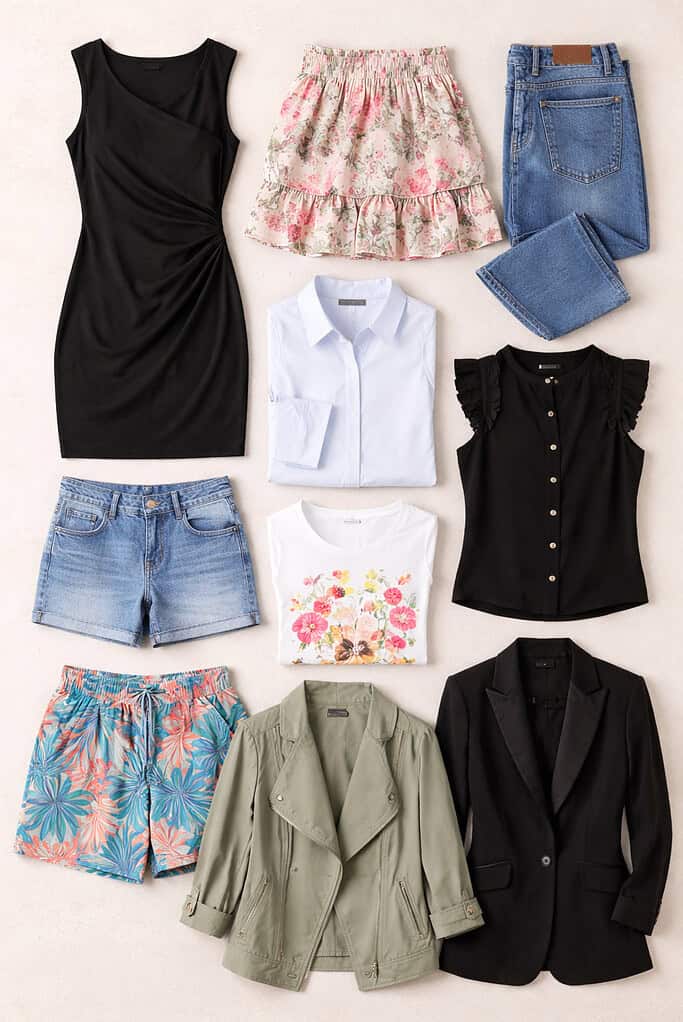
And for me, that's pretty much it! I knew for this purpose I wanted to stick with 10 items, but you can decide for yourself what you want to go with.
I decided to include items I've been wearing a while lot for a while.
So, I don't have the exact items listed down below, but I linked to a few Amazon options if you want to shop!
The links below are mostly affiliate links, meaning: if you make a purchase after clicking I may get a commission at no cost to you.
- Black dress
- Print skirt
- Blue jeans
- Print shorts
- White button-down shirt (long sleeve)
- Blue button-down shirt (long sleeve)
- Black button-down shirt (sleeveless)
- Flower print t-shirt
- Green swing jacket
- Black dress jacket
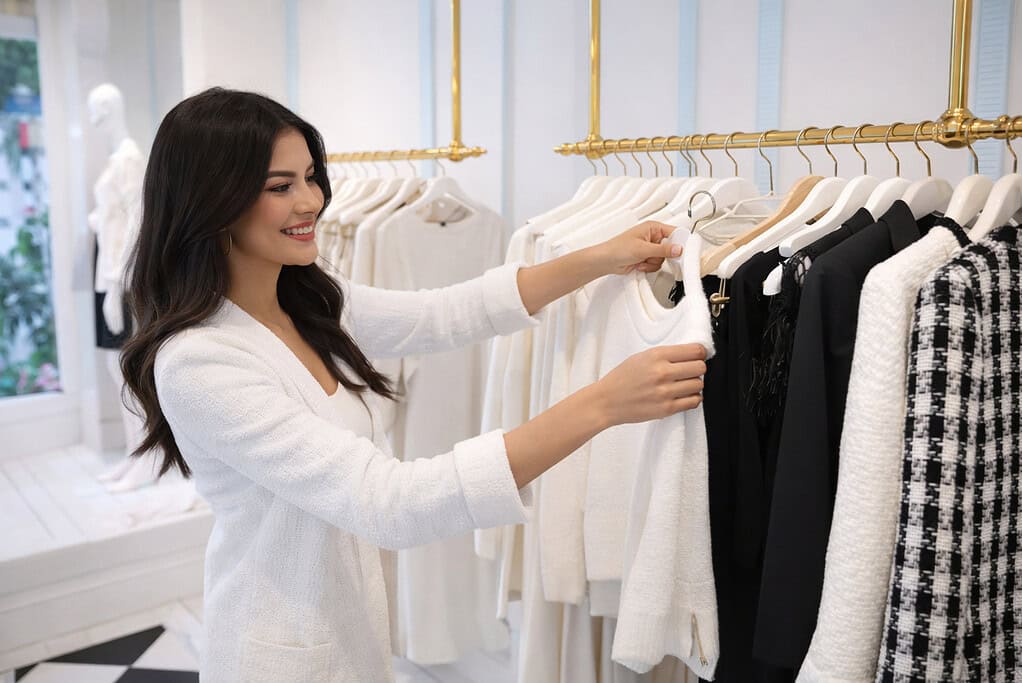
Need Help Building A Versatile Wardrobe?

In my quest for ore resources regarding a stylish wardrobe, I stumbled on to Alison Lumbatis (a fellow “Alison” with one “L”).
She created seasonal guides on building a capsule wardrobe.
Her capsule is perfect for the woman rebuilding her wardrobe or anyone who wants to refresh her classic closet basics and create mix and match outfits from them.
Most people will try her guides “shop their closets” first—finding they own a lot of the clothing items on the list in the guide.
Alison also provides online shopping links so you can easily fill in the blanks.
The closet staples shopping list includes 43 pieces of clothing and footwear and 13 accessories.
With the list, you can shop where ever, and spend as much as little as you want.
It’s an awesome way to rebuild your wardrobe, buy only what you need and create a multitude of outfits!
FAQs
How many pieces should a versatile wardrobe have?
There is no single right number. Some people start with 10 to 15 pieces, while others prefer 30 or more.
The goal is not hitting a magic number but choosing items you actually wear and enjoy. Your lifestyle, climate, and comfort level matter more than strict rules.
Do I have to get rid of most of my clothes to build a capsule wardrobe?
No. A versatile wardrobe does not mean you must purge everything. Many people start by setting aside a small group of clothes to wear for a season while keeping the rest stored away.
You can always bring items back if you miss them.
Can I still wear trendy clothes with a minimal wardrobe?
Yes. A versatile wardrobe can include trendy pieces if you love them and feel good wearing them. The key is balance.
Mixing a few trends with mostly classic, timeless items helps your outfits last longer and stay wearable year after year.
How do I know if an item deserves a spot in my capsule?
Look at how it feels on your body and how often you reach for it.
If it is comfortable, flattering, and works with several other pieces you own, it likely earns its place. If you constantly adjust it, avoid it, or feel unsure wearing it, that is a sign it may not belong.
Follow me elsewhere!
Hi Alison,
Could you help I would like to make a capsule wardrobe for occasions example evenings out to a restaurant with friends lunch with friends dinner at home with friends, a wardrobe other than everyday items.
I am not sure how many items/ outfits I need to keep in this wardrobe and I would pay a little more for these items as well, more than my everyday stuff .
I am 65 and very classic styling ( think Kate Middleton ) .
My everyday stuff isn’t really smart enough for out at night and playing with grandchildren I get covered in all sorts of stuff?
Hope you can help best regards Jackie